
Save a Rendered Image to Disk in ProgeCAD | Export Rendered Images
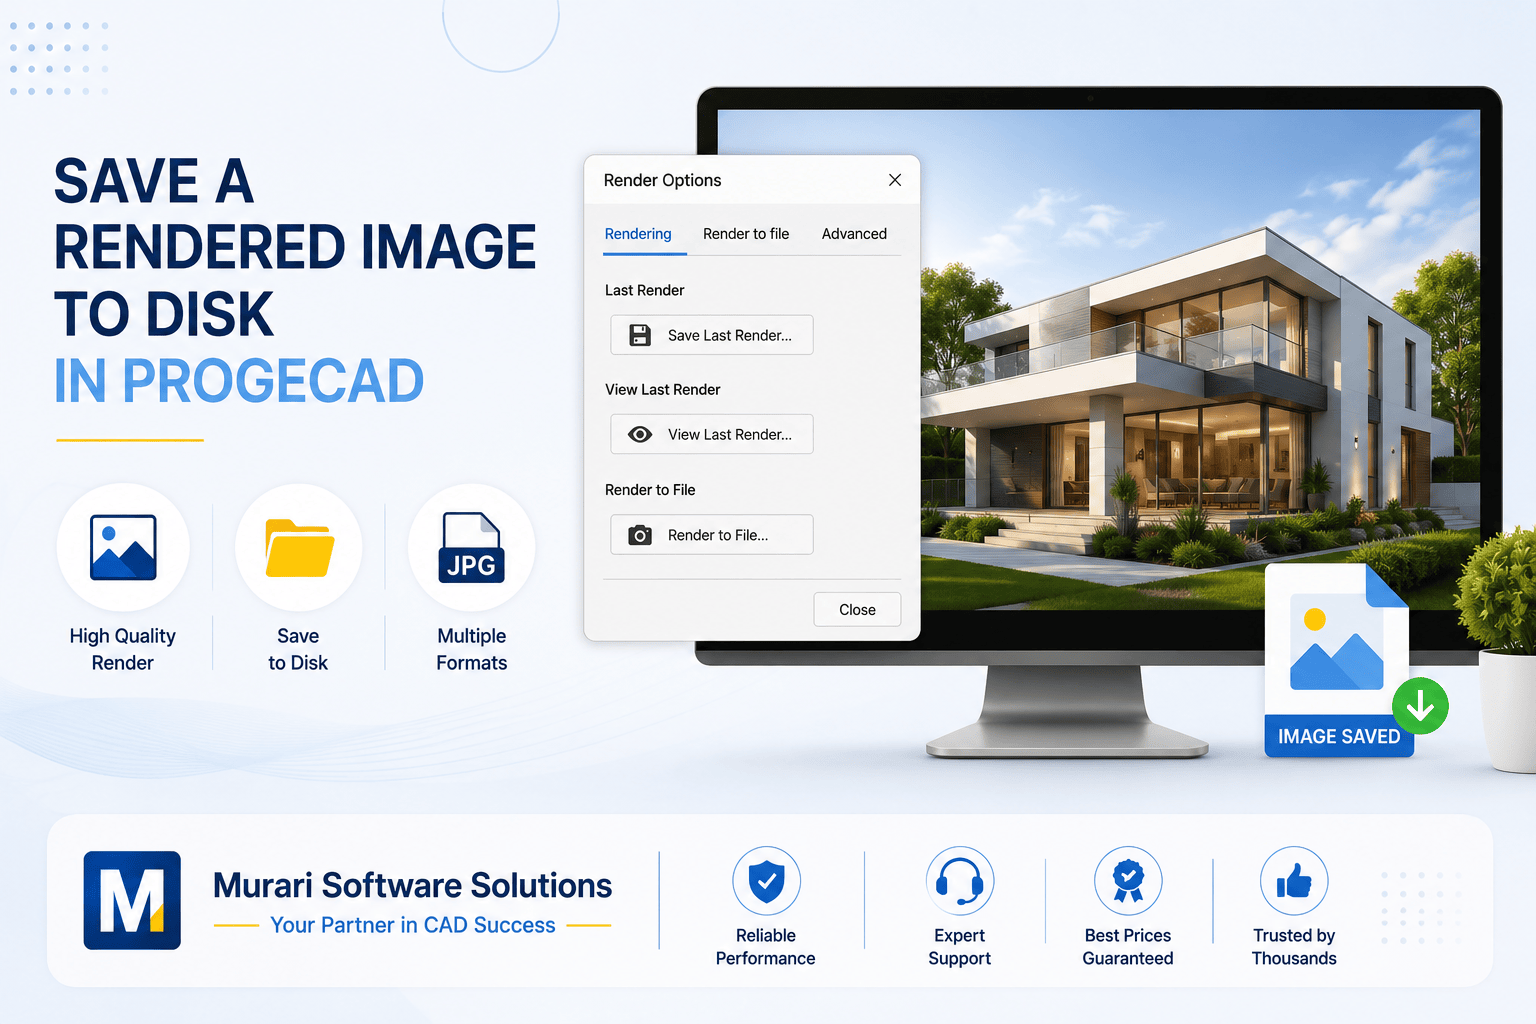
How to Save a Rendered Image to Disk in ProgeCAD
ProgeCAD allows you to save rendered images directly to your computer for presentations, client reviews, reports, documentation, and marketing materials. Whether you want to save the last rendered view or generate a new render directly as an image file, ProgeCAD provides simple options to export high-quality renderings.
Saving rendered images helps preserve your work without taking screenshots and ensures that the exported image maintains the selected rendering quality and resolution.
Why Save Rendered Images?
- Create professional presentations.
- Share realistic design previews with clients.
- Include rendered images in project documentation.
- Archive rendering results for future reference.
- Export high-quality images for printing or websites.
Method 1: Save the Last Rendered Image
- Open the View menu.
- Select Rendering.
- Click Render Options.
- Open the Rendering tab.
- Select Save Last Render.
- Choose the destination folder.
- Enter the desired file name.
- Select the preferred image format.
- Click Save.
You can also choose View Last Render to preview the previously rendered image before saving it.
Method 2: Render Directly to an Image File
- Go to View.
- Select Rendering.
- Open Render Options.
- Select the Render to File tab.
- Choose the required image size or resolution.
- Click Render.
- Select the folder where you want to save the image.
- Enter the image file name.
- Confirm to begin rendering and save the file.
Tips for Better Render Quality
- Use higher image resolutions for printing.
- Apply proper lighting before rendering.
- Use realistic materials and textures.
- Adjust camera angles before exporting.
- Save multiple render versions for comparison.
Common Issues
Image is low quality
Increase the render resolution before exporting.
Cannot find the saved file
Verify the destination folder selected during the save process.
Render takes too long
High-resolution images require more processing time. Reduce image size if necessary.
Rendered image appears dark
Adjust scene lighting and material settings before rendering again.
Best Practices
- Save images in high resolution for presentations.
- Organize rendered images in dedicated project folders.
- Use descriptive filenames for easy identification.
- Keep backup copies of important renderings.
- Update ProgeCAD to the latest version for improved rendering performance.
Conclusion
Saving rendered images in ProgeCAD is a simple process that allows you to create professional visualizations for clients, presentations, and project documentation. Whether you save the last rendered image or render directly to a file, ProgeCAD provides flexible options to export high-quality images quickly and efficiently.
If you need help with ProgeCAD rendering, visualization settings, or export options, Murari Software Solutions offers professional ProgeCAD support and technical assistance.